P1QP Quick Start
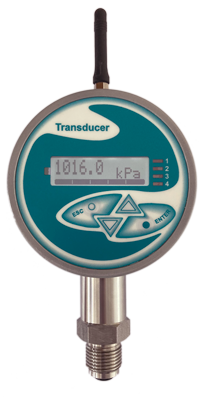
Digital pressure transducer P1QP is a telemetry-enabled, battery powered pressure sensor, which is primarily used to measure pressure in distribution pipes of gases or liquids and sending the measured data over the wireless network into centralized measurement systems such as SCADA.
Wireless communication of the transducer is provided utilizing one of the LoRaWAN, Sigfox, Bluetooth, ZigBee, 805.15.4 or Wi-Fi (2.4GHz, 802.11b/g/n, WPA2) radio technology using various RF frequency spectrums.
Quick start
You can easily test the working of the sensor without the installation of the unit to the measurement location. To test the units functionality it is required to firstly power the sensors, then powering the sensor on.
Powering the unit supplied with the battery
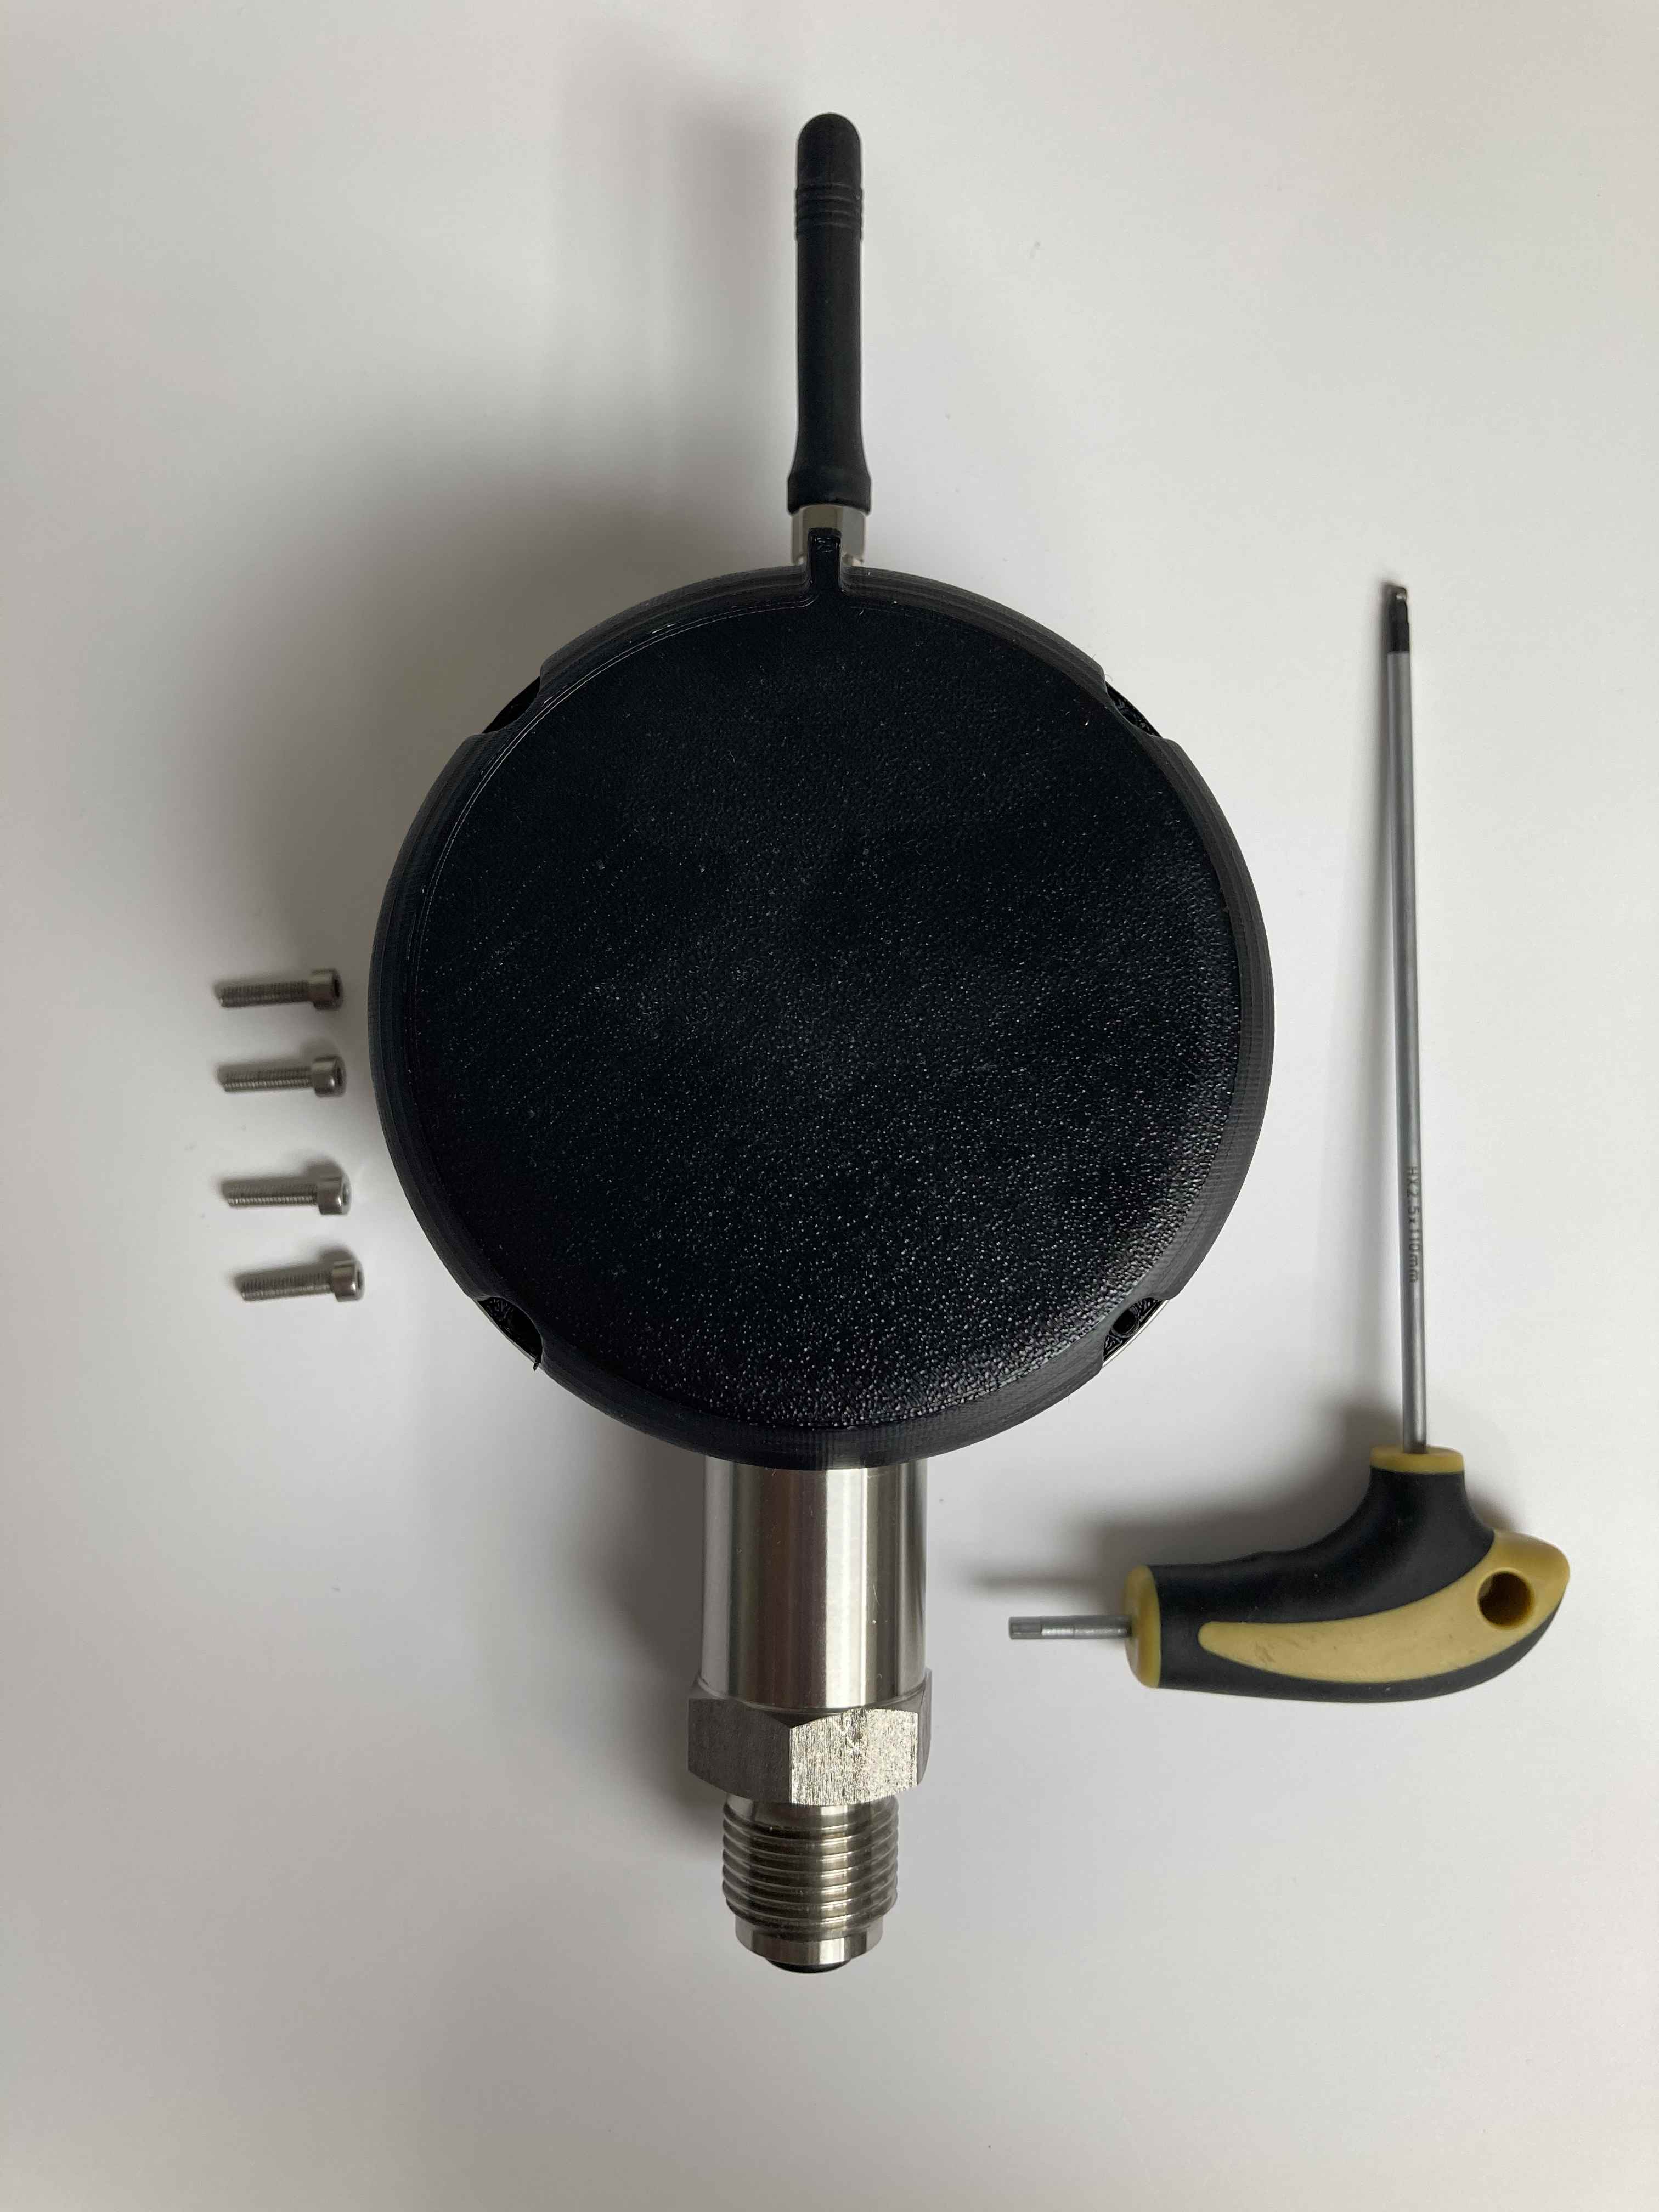
- Unscrew the four (or six, depending on configuration) cylinder-head screws at the back of the unit using hex key - size 2.5mm
- Remove the back plastic lid
- Remove the plastic battery insert which keeps the battery disconnected from the units power terminal
- Replace the back of the unit and screw the screws back tightening lightly
- Power up the unit pressing ENTER key on the front of the unit for 2 seconds - the display will lit up and start showing the measurements
 HEX key size: 2.5mm |
 Use the HEX key to unscrew all back screws (4 or 6, depending on model) |
 |
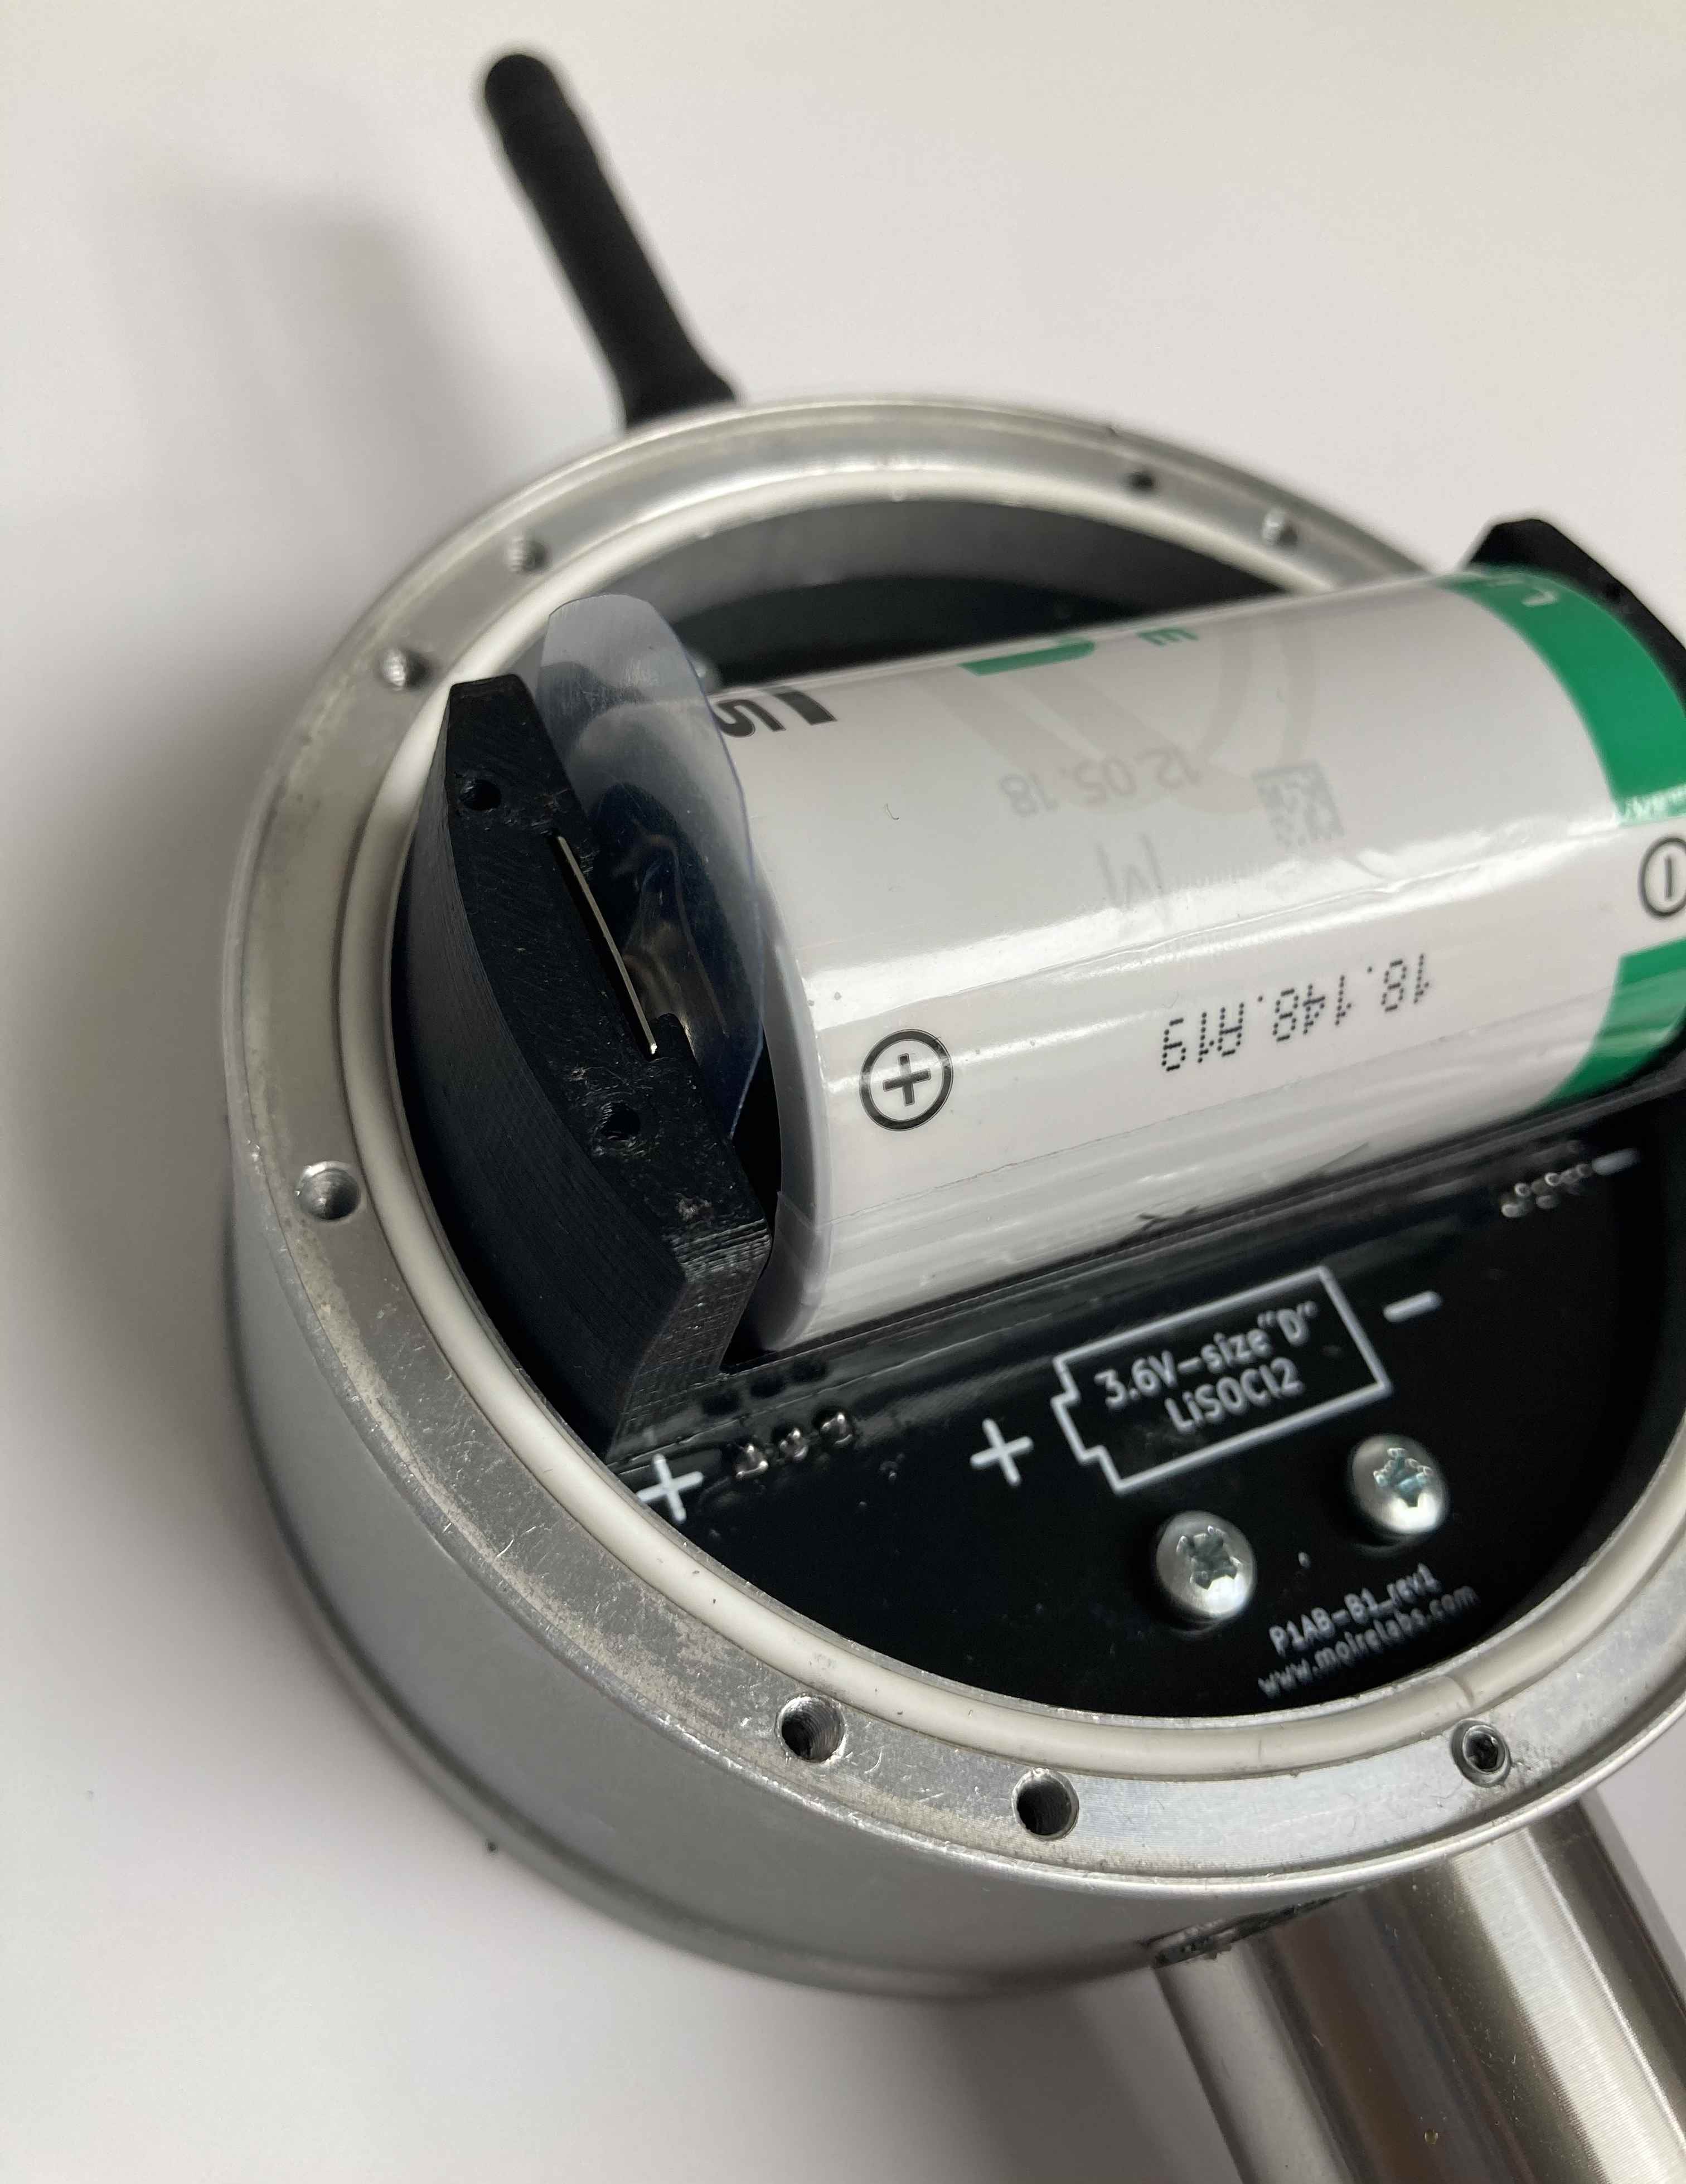 Locate the plastic film, which disconnects the battery from power terminal. |
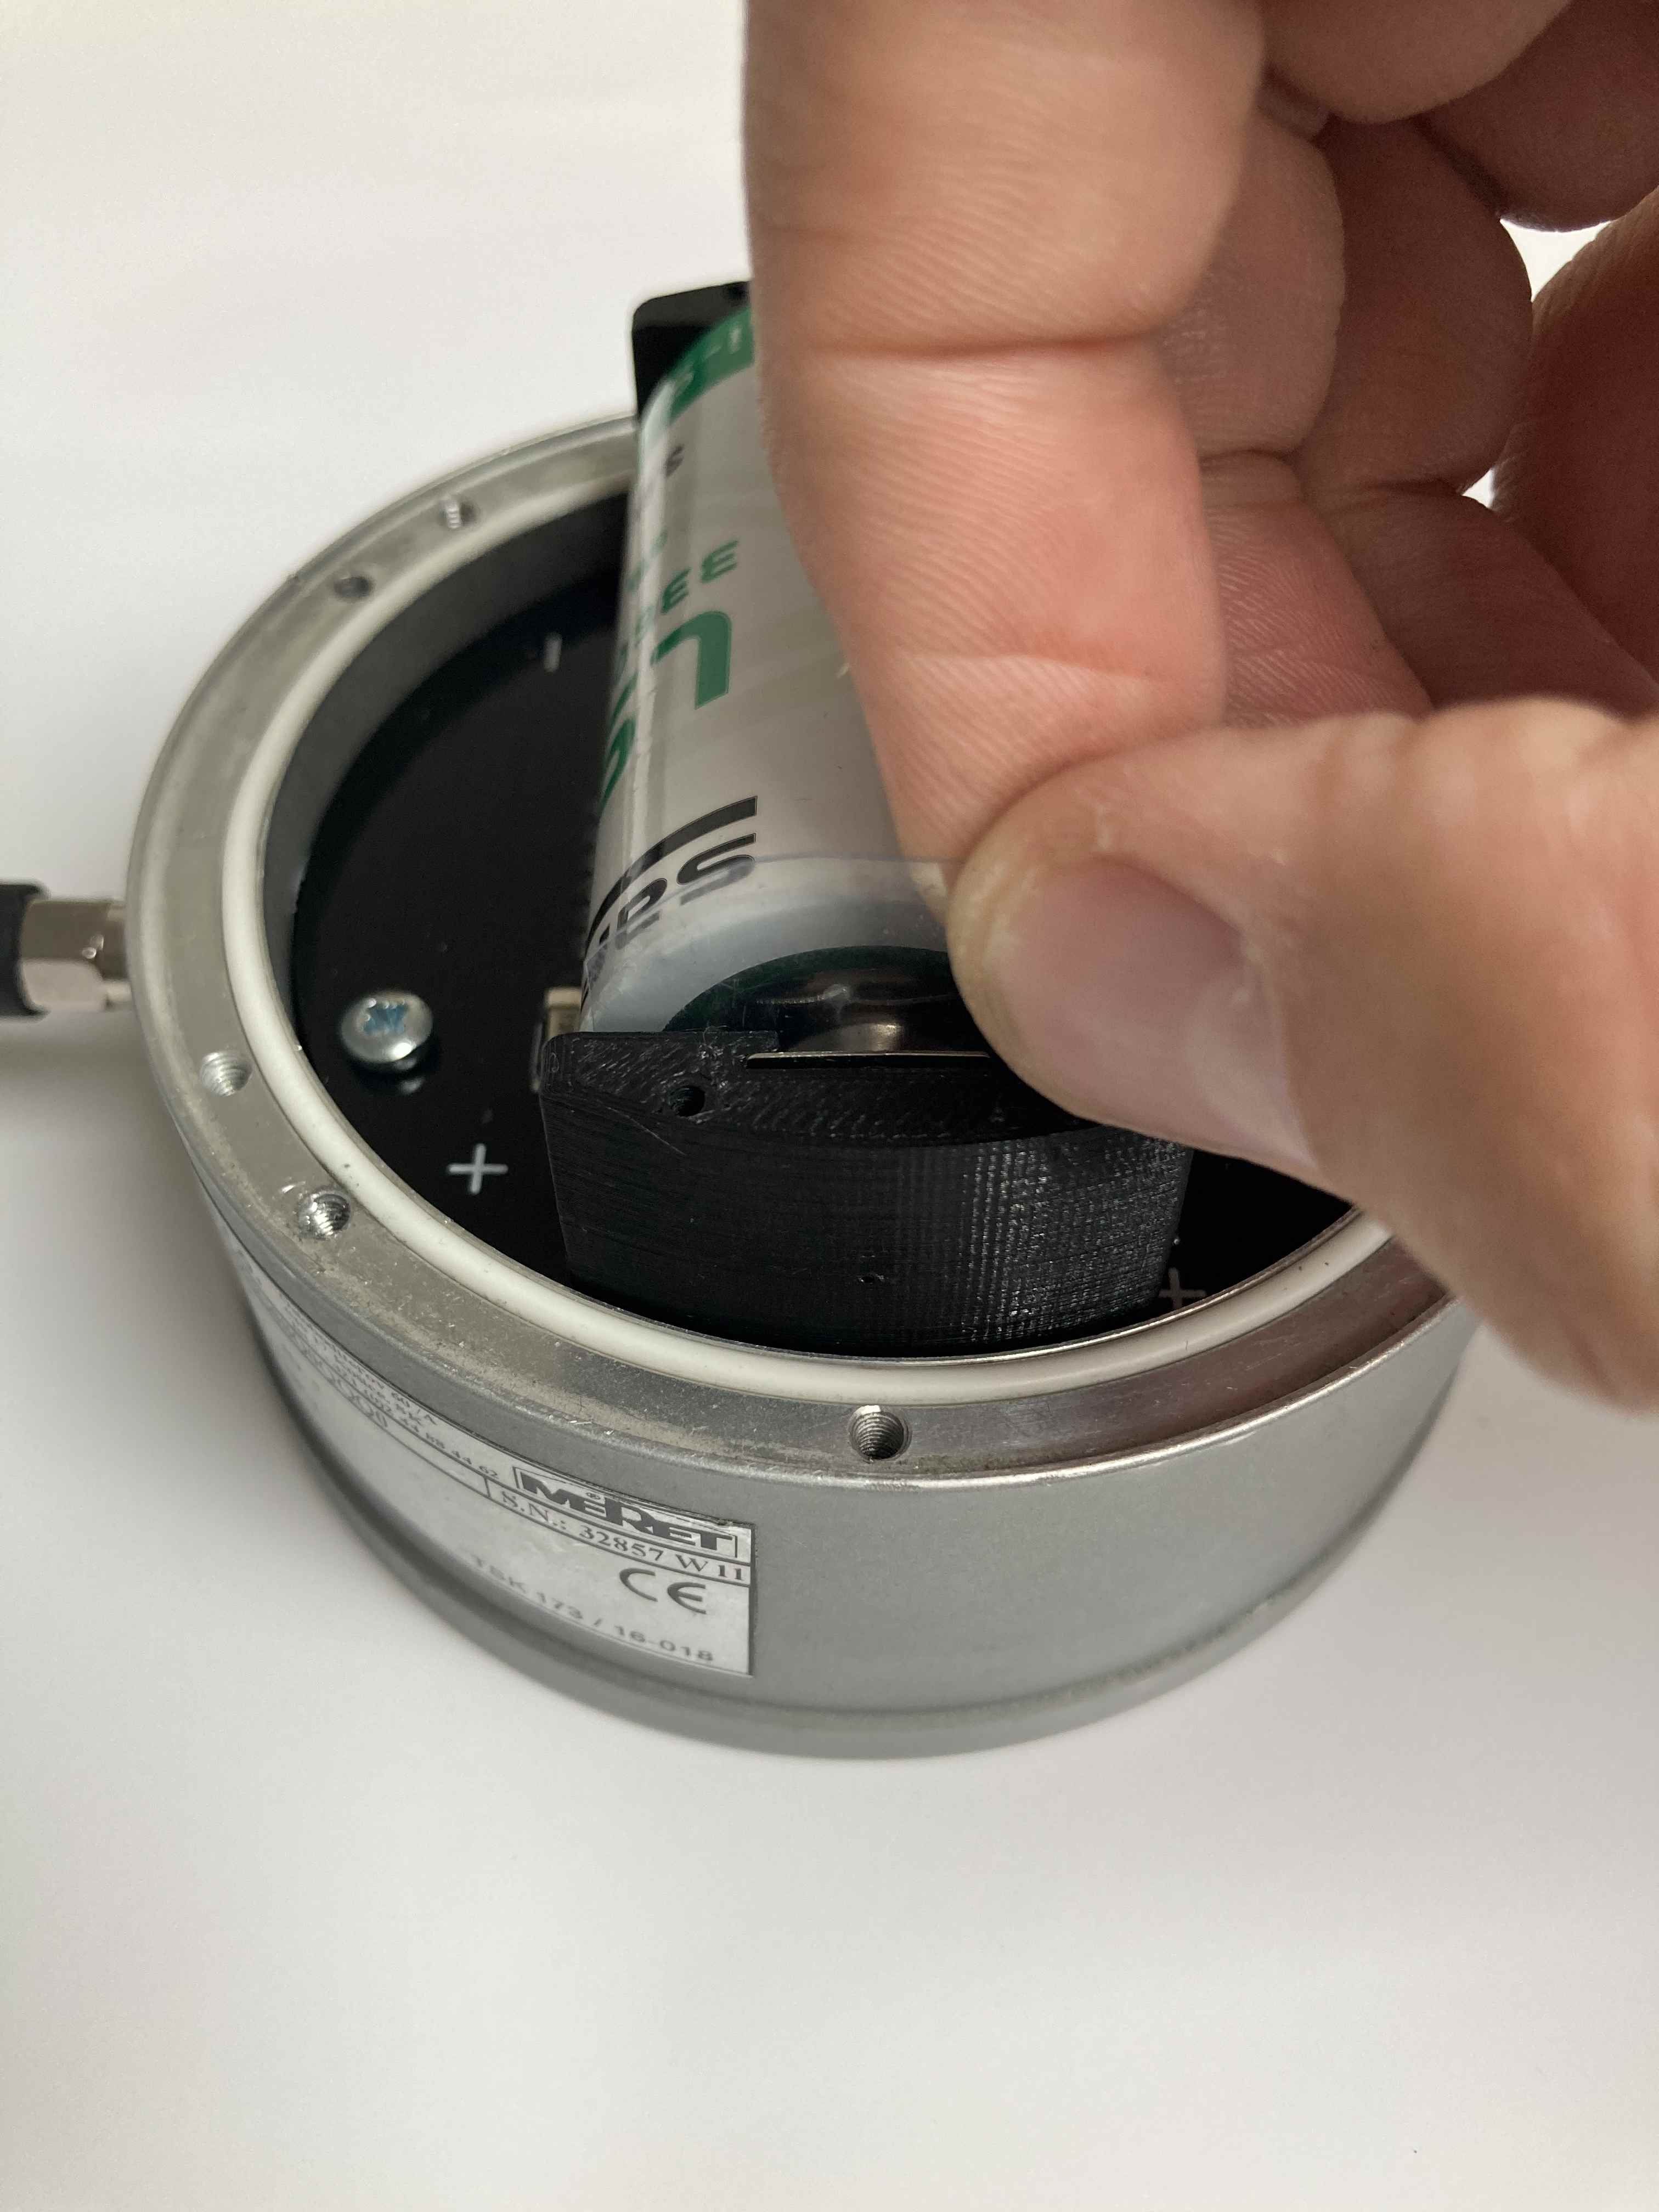 Remove the plastic film. |
Reassemble the unit. |
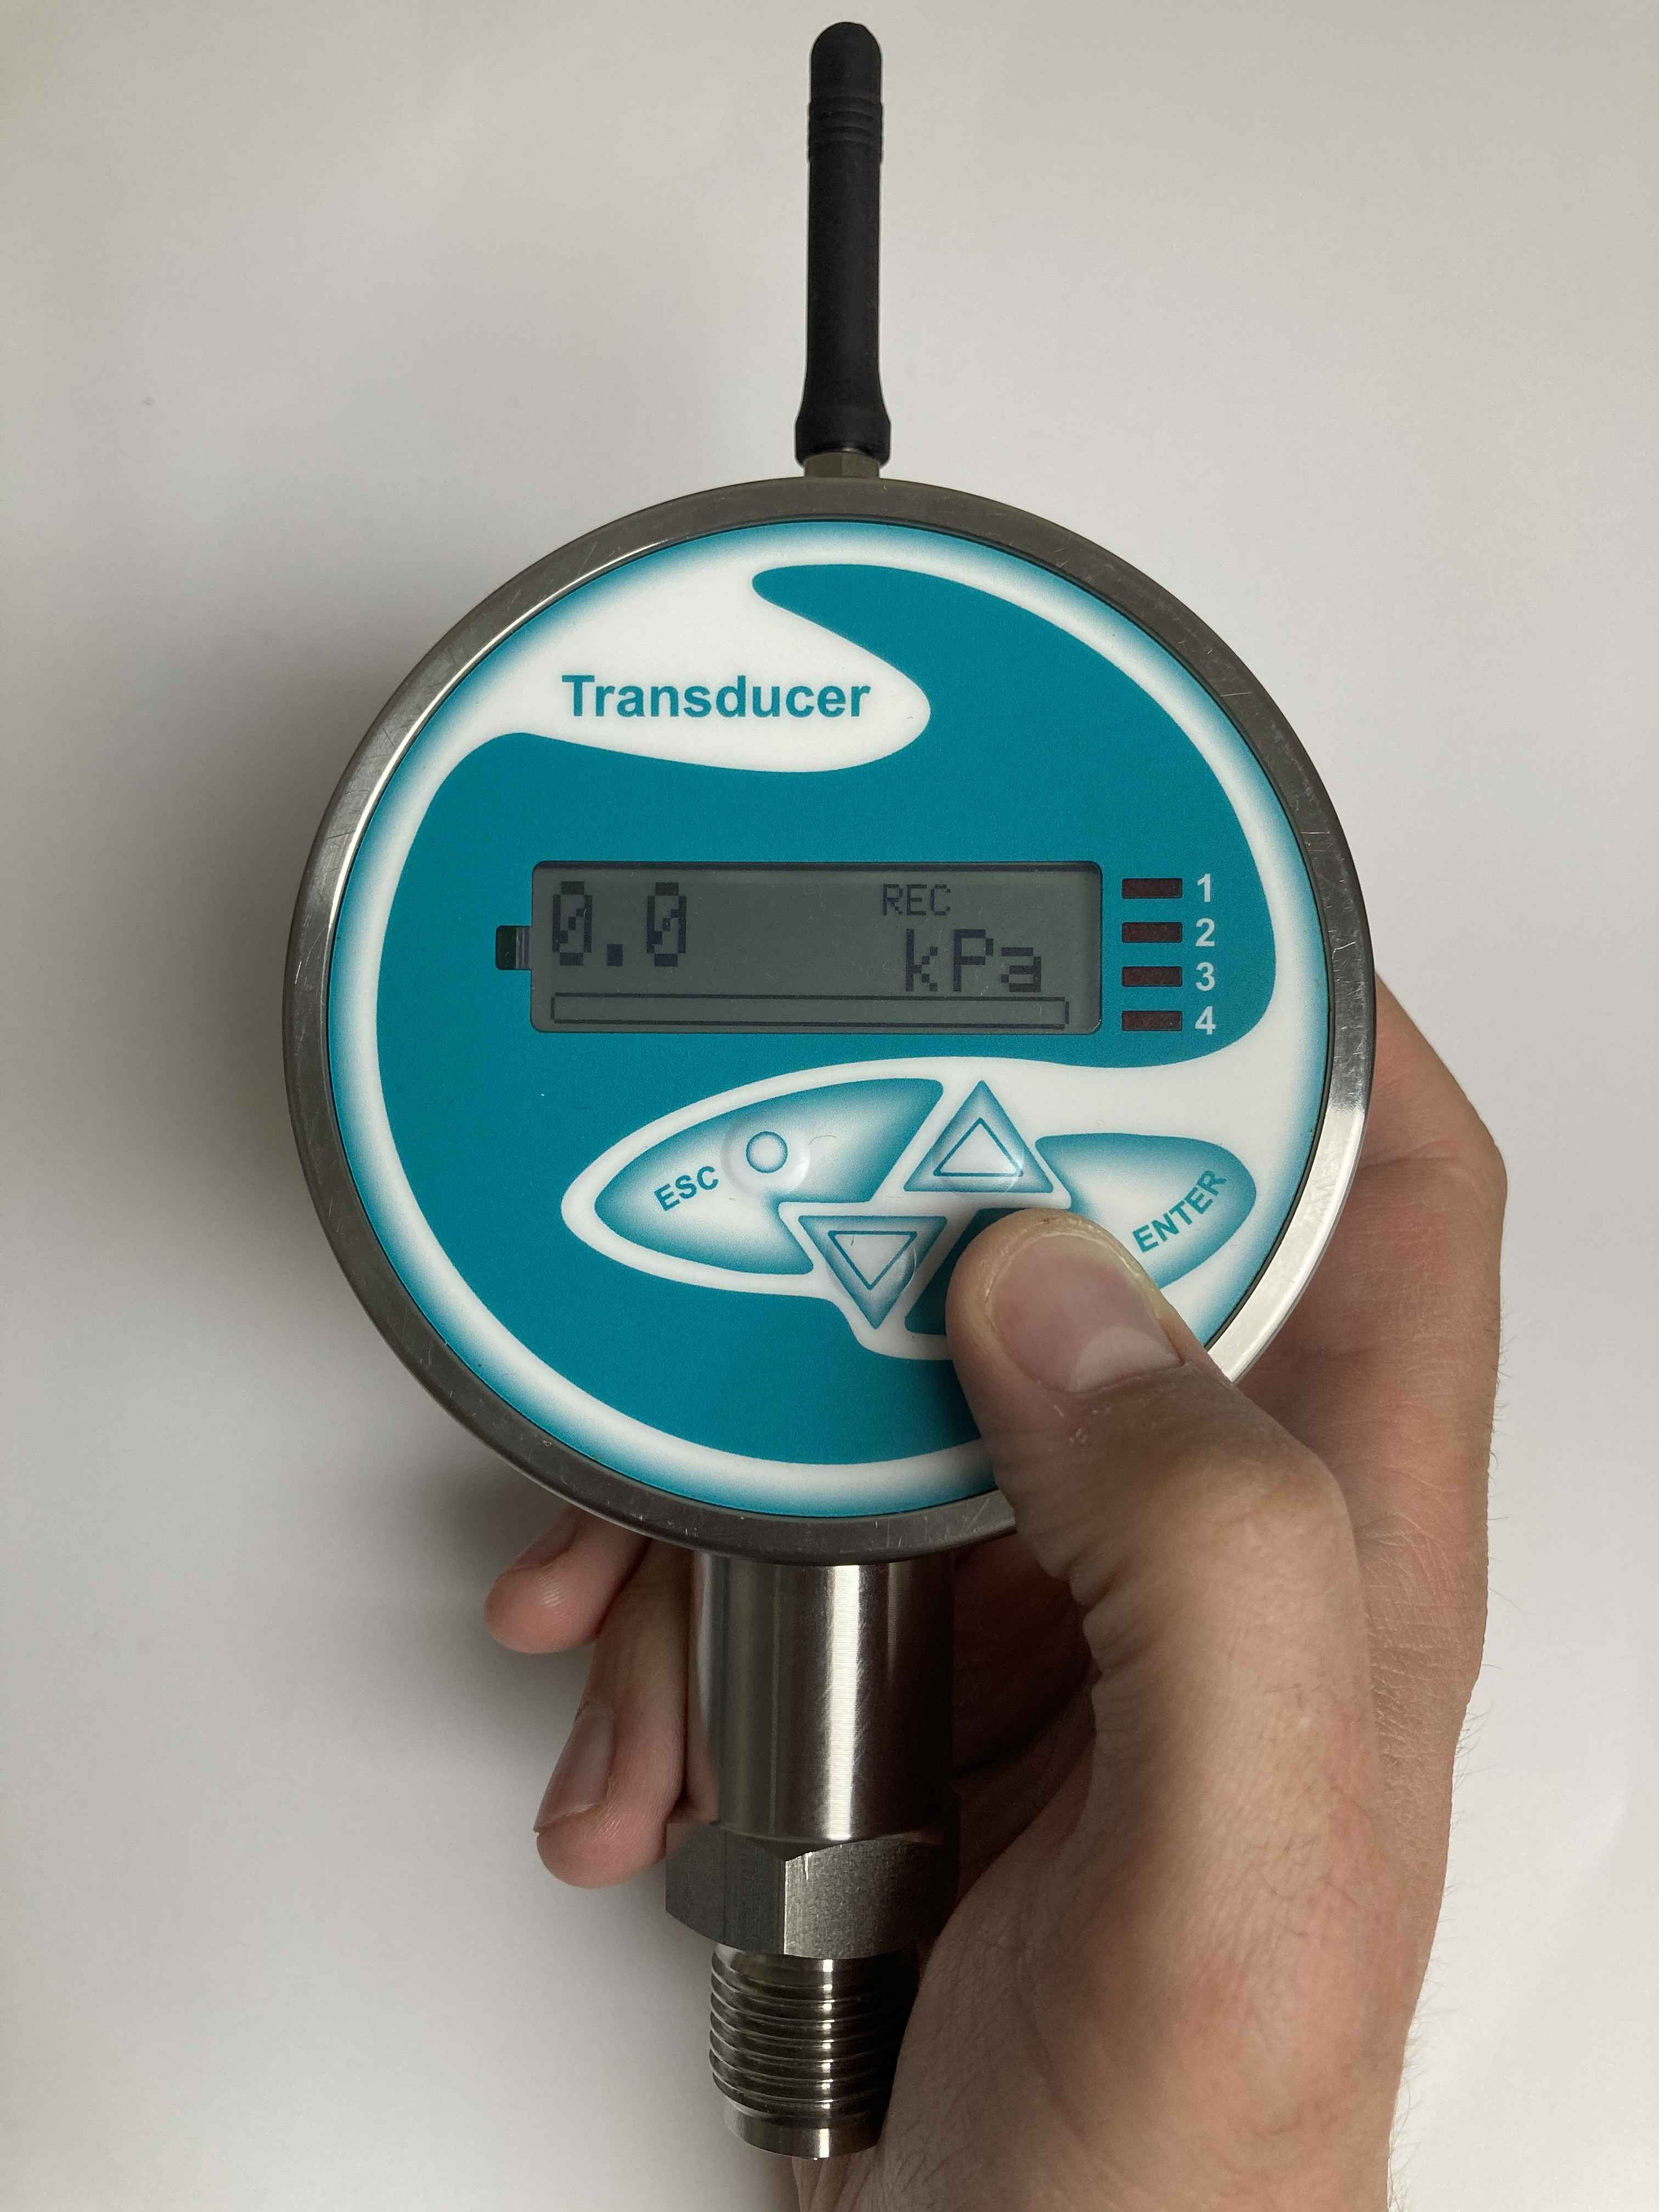 Turn the unit ON |
At this stage the unit is fully working, but the wireless transmit of data is off by default. To turn the wireless functionality on follow the procedure:
- Turn the display ON by long-pressing the ENTER button - readings will start to show
- Press keys ESC and ENTER together for at least 2 seconds - you will enter configuration menu
- Scroll down to "Wireless" option by pressing the down arrow; select Wireless sub-menu by pressing ENTER
- Set the required configuration using up and down arrows confirming the selection using the ENTER button
- The device will test uplink connection - if this is not successful select "Keep wireless on" and the device will keep trying to connect to the network indefinitely
- Escape the configuration menu by pressing ESC button multiple times until readings are shown again.
The wireless uplink functionality is now ON and as soon as the device connects to the uplink network the data will be sent out using wireless network.
Warning
When devices battery is depleted the device will turn itself off and will stop sending data to uplink network. To enable sending the data again battery must be replaced and the device turned on by pressing the ENTER button. If the wireless functionality was ON before battery replacement, this functionality will stay ON after battery replacement.
Support
For support please contact your distributor or manufacturer directly via www.moirelabs.com